P1796 Light Cavalry Restoration part three.
Posted: 11/12/18 (16:13pm)I managed to finish the P1796 grip yesterday. I rounded the edges a little more. Then I began work on the hole through which the tang would pass. I began by drilling a hole through the centre of the grip. That part was easy, my drill press made short work of it.

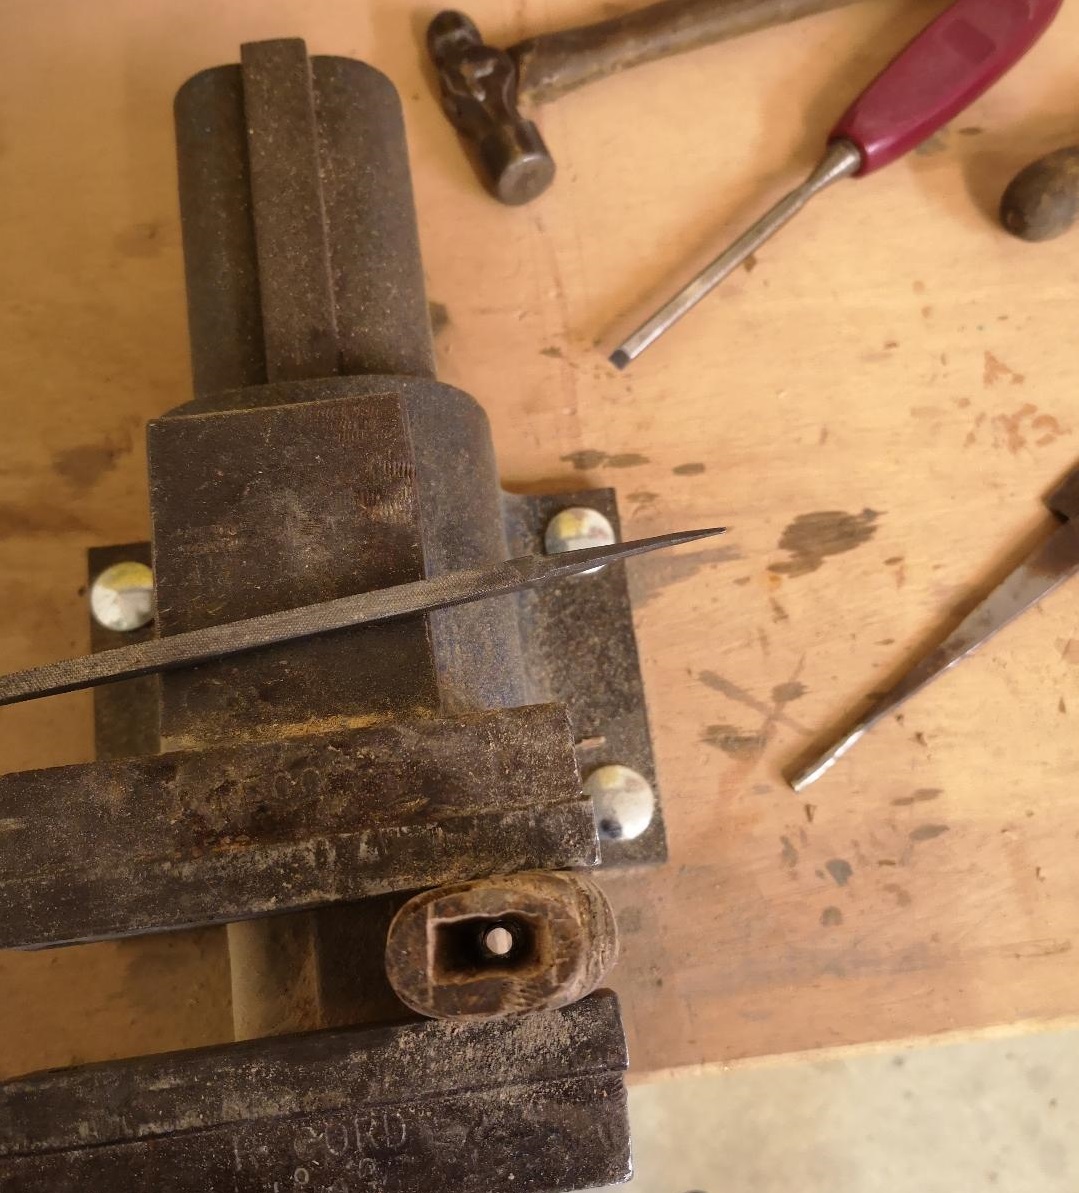
Then came the time consuming job of chiselling and filing out the hole in order for the tang to fit snugly. I kept the blade on hand and constantly tested the fit. This photo was taken at the mid way point. It took a couple of hours but eventually I had a nice tight fit.
Having finished the woodwork, it was time to put the leather on the grip. Originally, I had planned to use shagreen but the presence of an ordnance stamp on the blade indicates that this was a trooper’s weapon and as such, the grip would most likely have been finished with leather.
I used a square of calf leather, which I soaked, shaped and then attached, smoothing the leather as I went and working it into the grooves. While the leather dried and bonded firmly in place, I aged then twisted the brass wire that would be used to complete the grip. Once the leather was dry, it was time to stain and age it before finishing it with the wire.
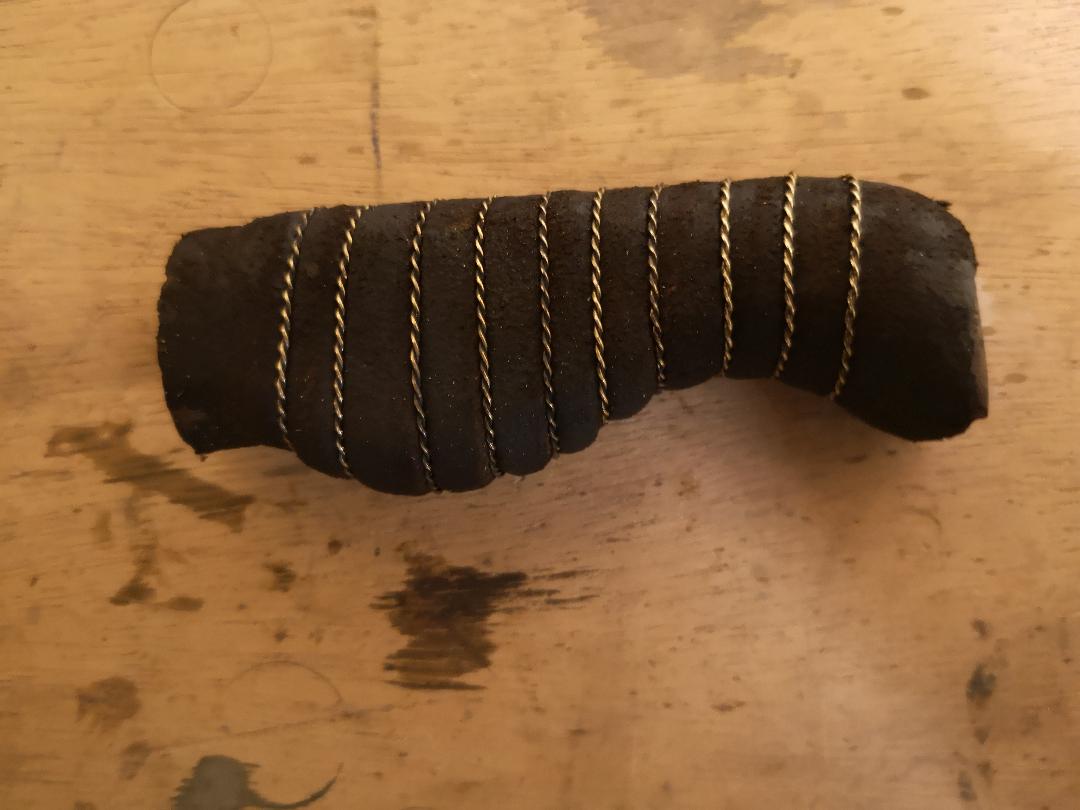
The grip fit perfectly into the old hilt furniture and I am happy with the antiqued finish I managed to get on the leather. It would not look right if the grip stood out as being brand new.
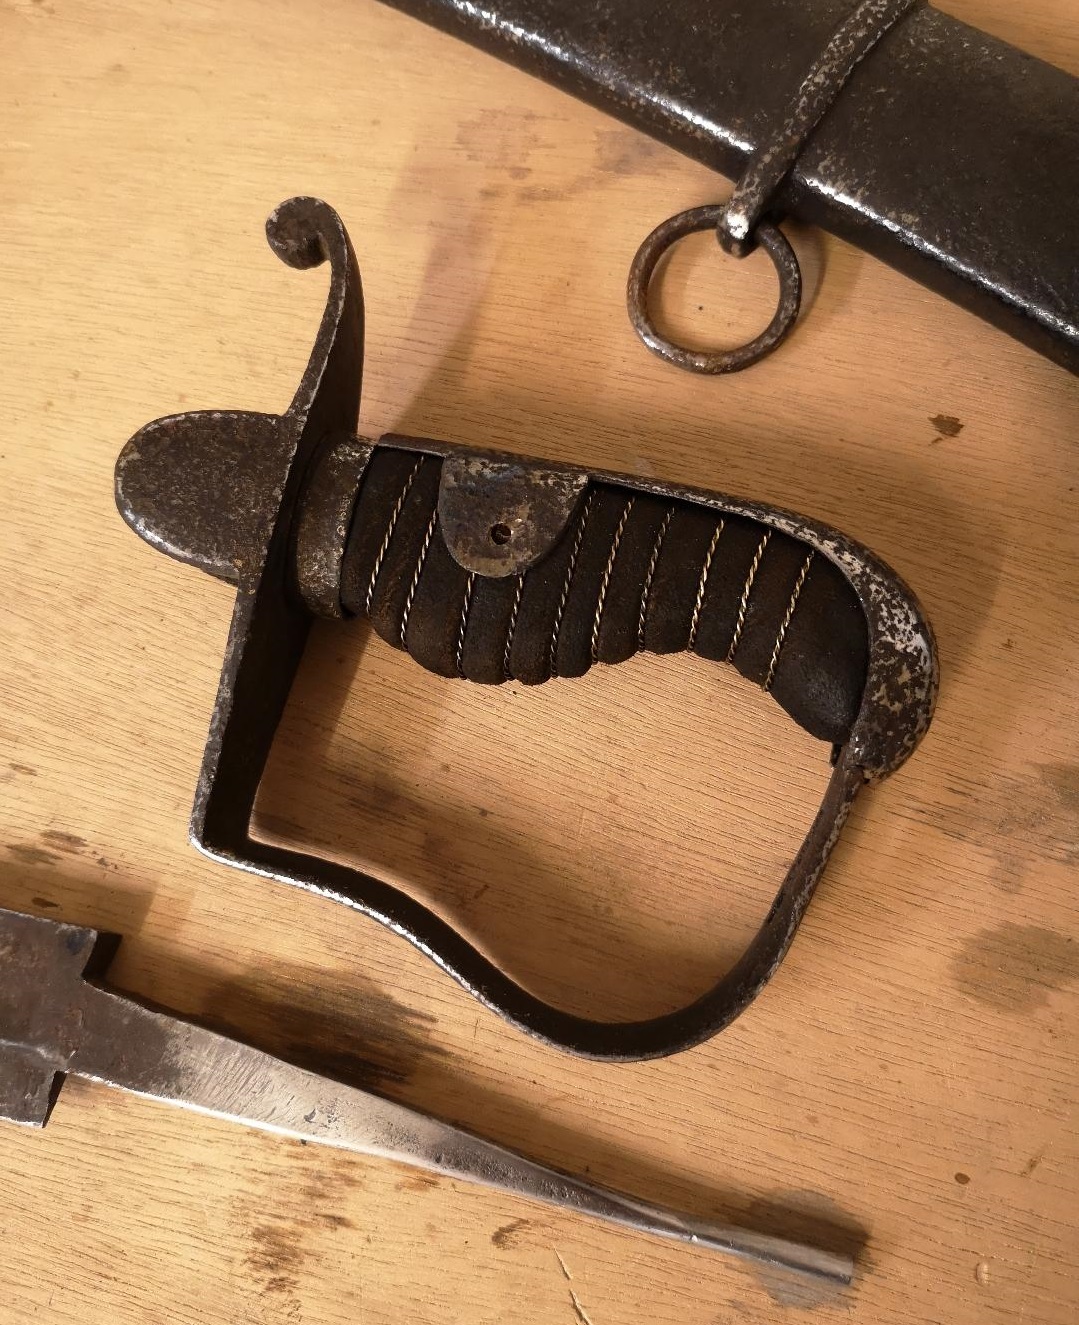
As you can see from the photo, I also got the welding done on the tang. The steel of the original tang was in good condition under the thin layer of rust so instead of making a new tang and welding it on to the stump of the old, I decided to grind a “V” through the holes, clean up the metal and fill weld. It turned out nicely. I also added a couple of centimetres to the tang tail in order to be able to peen the tang onto the hilt. I added far more steel than is needed so once the hilt is assembled I will shorten the newly added tail so that it is about 6mm proud of the pommel. The general rule when peening is that the piece to be peened should be the diameter of the tang plus 1mm.
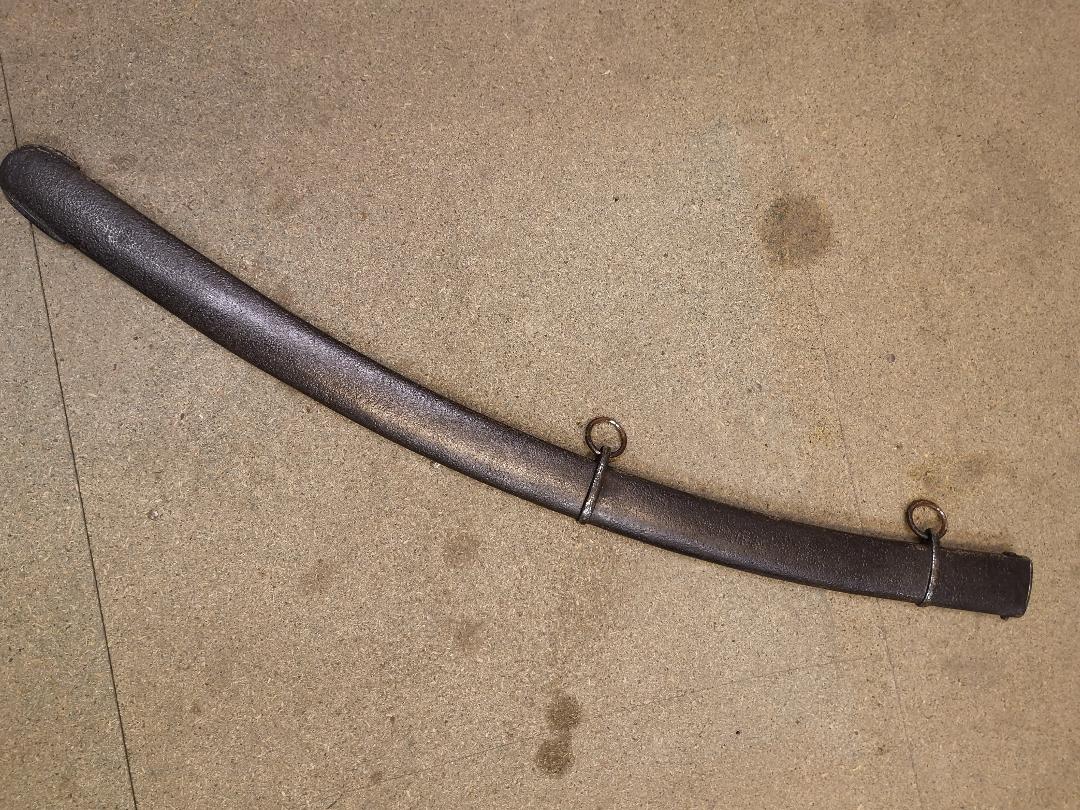
The remaining work is to media blast the scabbard and hilt furniture. Media blasting will leave the steel a matt grey colour so it will all need polishing before assembly.
Once reassembled and after peening the tang through the pommel, I will drill through the ears and insert a cross rivet through the tang before peening both ends. Lastly, I will give the blade a good polish and coat all the metal with Renaissance Wax. However, all this will have to wait until after Christmas.